
In most cases, the rDNS setup will done by the Data Center (DC) technicians. But in case if the DC delegates it to a support team like us, you have 2 choices – to leave it in the hands of server management expert like us or to do it on your own and in which case, this blog post might come handy. Come let’s see what it takes for you to setup the rDNS by yourself.
Purpose of Reverse DNS (rDNS/PTR)
Purpose of Reverse DNS (rDNS/PTR)
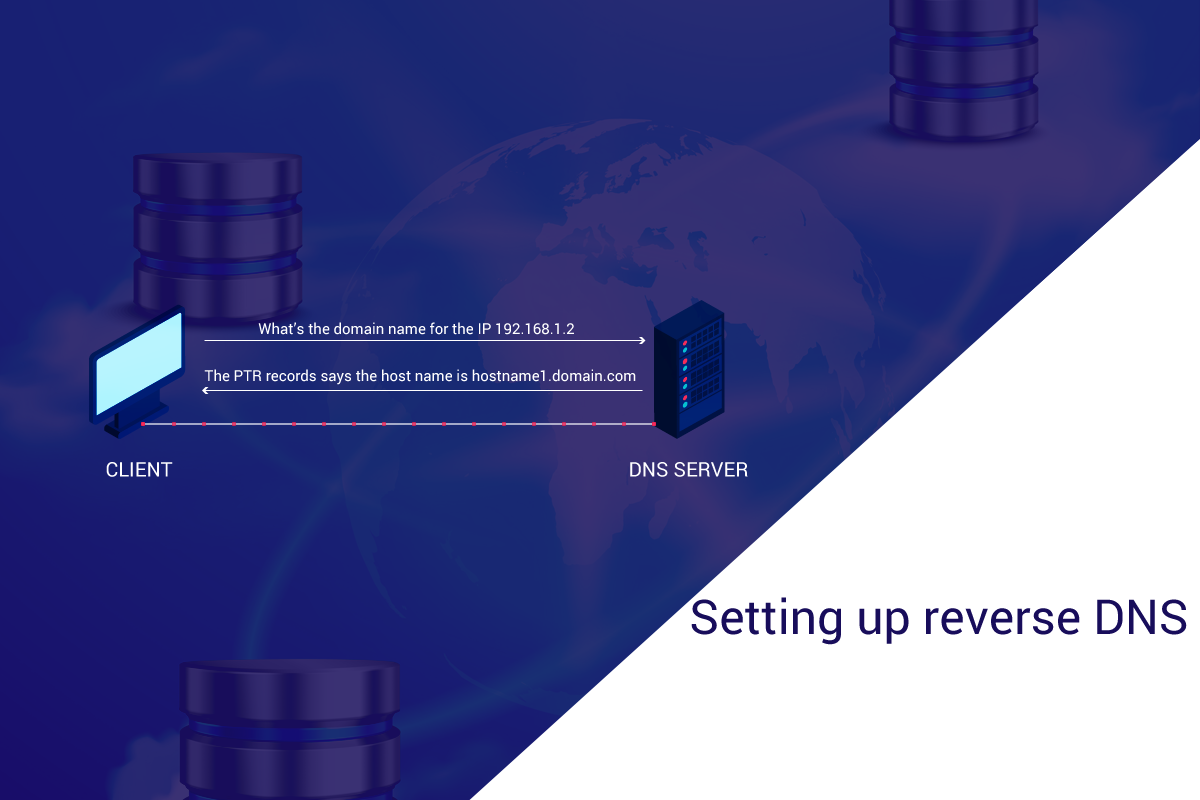
As the main purpose of the Domain Name System (DNS) is to point domains to IP addresses, PTR record also known as Reverse DNS (rDNS) is used for resolving IP to a particular domain or hostname.
PTR record is mainly used for Email purpose. In order to prove an email as valid, we use SPF, DKIM and DMARC records. Likewise, to prove that the IP is a legitimate one, we need a PTR record.
Prerequisites for setting up rDNS:
- Configure a Reverse Zone
- Register the reverse zone at the delegated center
Configuring a Reverse Zone:
As it is mandatory to have Domain Zone Entries for managing the DNS Records for the registered domains. In the same way, it is also mandatory to have a Reverse Zone Entry for managing the IPs. In our scenario, the DNS is maintained in WHM Panel.
Register the reverse zone at the delegated center:
After configuring the reverse zone we have to register it, in our scenario we will be using the portal of one of the delegated center APNIC. For testing purpose, we will be using this Private IP 192.168.1.xxx.
Step 1. Setting Up RDNS Zone for 192.168.1.xxx
Before creating a RDNS Zone prepare the format.
192.168.1.xxx → Leave the last octet and reverse the IP 1.168.192.in-addr.arpa
192.168.1.xxx
1. Login into WHM/cPanel Server.
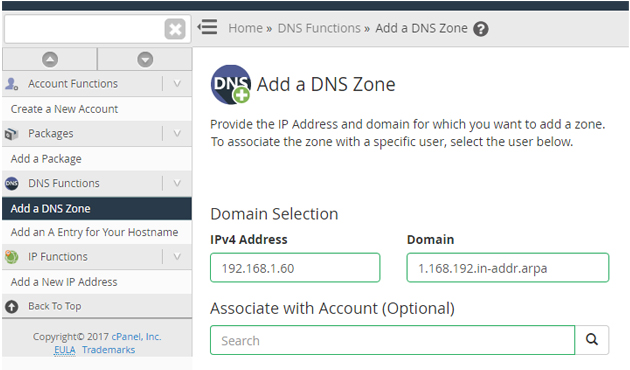
2. Select “Add a DNS Zone” and add the below details:
IPv4 Address:
Domain: 1.168.192.in-addr.arpa
Select System and Click “Add Zone”
3. Then Go to Edit DNS Zone and select 1.168.192.in-addr.arpa
4. Add the last Octet of the IP, select the type as PTR, add appropriate value and Click Save
When you are done adding the DNS, continue to add the reverse zone by following the image shown below.
Adding a reverse zone
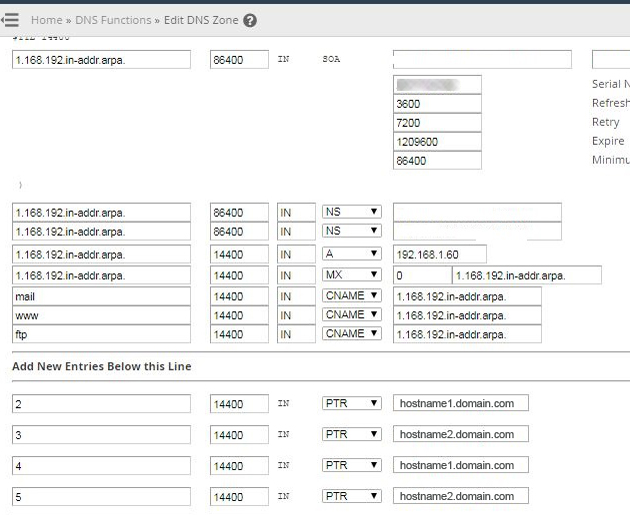
Editing a Reverse Zone Entry by adding the appropriate value for the last octet. After adding the values make a note of the nameserver details. We will use it while registering the zone.
Step 2. Registering rDNS in APNIC
NOTE: Based on the delegated center interface will differ. In our case we are using APNIC and here is a screenshot of the dashboard.
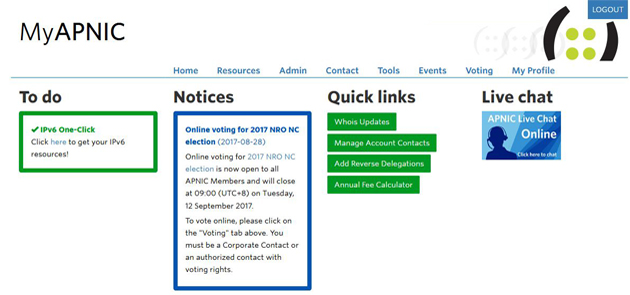
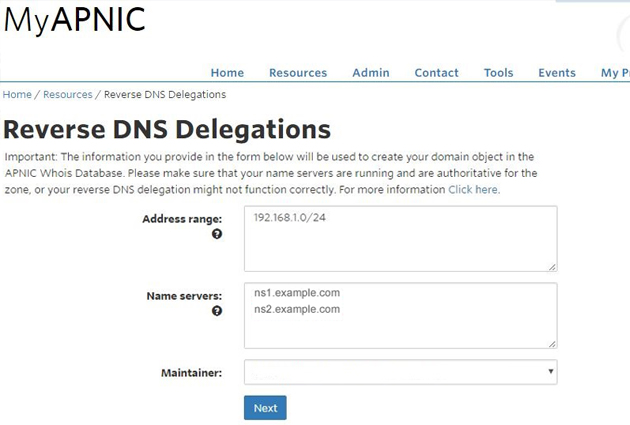
On loging into the APNIC dashboard, go to Resources → Reverse DNS Delegations
Address range: Add the Range 192.168.1.0/24 (Note: IP Range of /8, /16 and /24 is supported)
Name servers:
ns1.domain.com
ns2.domain.com
Maintainer: Default Value
After adding the values click Next and Save the settings. Now the Domain object will be created.
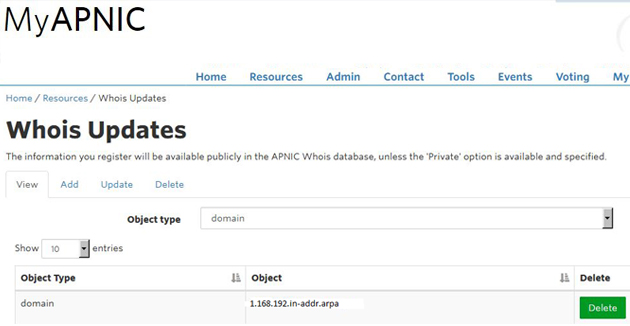
The created object can be viewed under Whois Updates. Please navigate to Resources → Whois Updates
In View select “Domain” from the Drop Down, the created object will be listed.
Once the registration is done, it will take around 2 Hours to update the records globally. After the update, the IPs can be verified via command line as given below:
Linux:
>>>host 192.168.1.2
2.1.168.192.in-addr.arpa domain name pointer hostname1.domain.com.

>>>host 192.168.1.5
5.1.168.192.in-addr.arpa domain name pointer hostname2.domain.com.
Windows:
>>>nslookup 192.168.1.2
Name:     hostname1.domain.com
Address: 192.168.1.2

>>>nslookup 192.168.1.5
Name:     hostname2.domain.com
Address: 192.168.1.5
This is how you setup the rDNS on your own. But as a word of caution, it is always advised that you seek the assistance of a server management expert like us who can provide expert advise and help you set up things in a timely manner.
Hope you liked it and follow us for more updates on Facebook , Twitter


